Multibranch Pipeline Jenkins — Auto trigger changed and build your code
Multibranch Pipeline is a Jenkins job pipeline that automate build and trigger everything update in repository branch and make change to server or instance. It makes developer more easier to develop the application more faster and easier. Developer will have only one or two branches that will build automatically which merged or pushed to git remote repository.

Prerequisites
Below is what you need to do before you go to set up and config
- Install jenkins plugin “Multibranch pipeline” and “Pipeline”
- Understanding about “Jenkinsfile” configuration “how to create jenkins file” — trigger build stage
- Understand about “Webhook” of any git you use (gitea,gitlab,github,…)
- Development server and git repository (sample project)
How to configure and set up
Installation
Install jenkins plugin name “Multibranch pipeline” and “Pipeline”
Gitea plugin “Gitea”
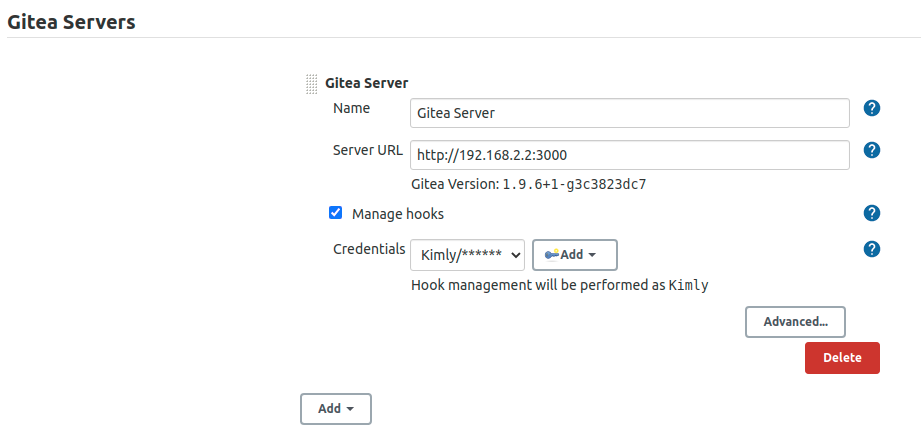
Step 1: Install plugin and add your gitea “Credential”

Step 2: Configure System in Jenkins
go to “Manage Jenkins” ==> “Configure System” and scroll to “Gitea”
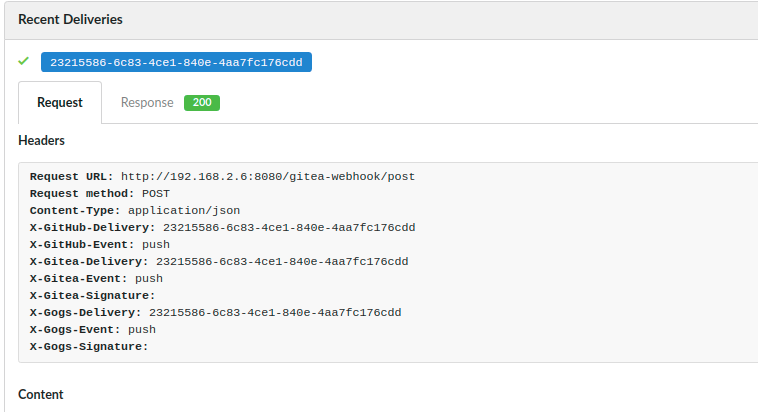
In this case, I installed Gitea server in my local. It will create a “Webhook” in gitea. It is in “Settings” ==> “Webhook”

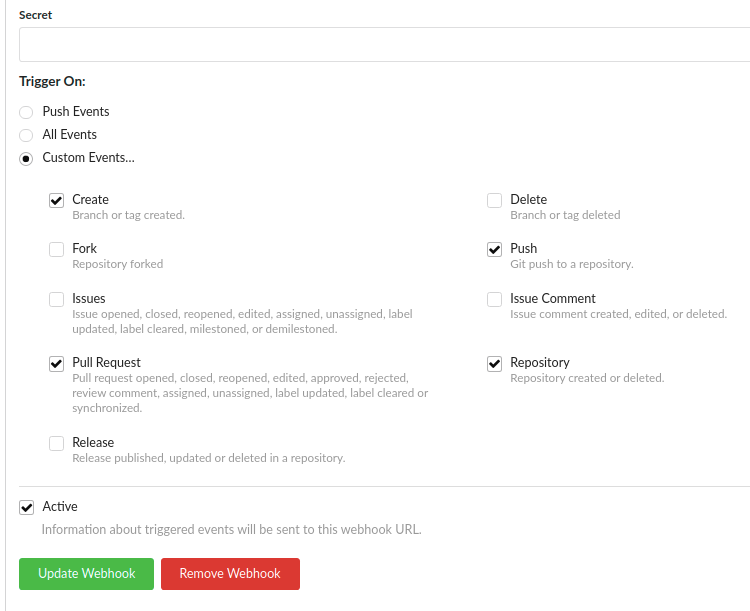
Each hook activities
Step 3: Create Multibranch pipeline in jenkins
“New Item” ==> “Multibranch Pipeline”

Step 4: Configure pipeline
Click “Add source” ==> Git

- Project repository: add your git project ssh to this (add your jenkins ssh to gitea first)
- Discover branches: filter any branch you want to build while code update
- Script Path : it is a Jenkinsfile configuration stag change that we need to put your project

Configure interval that Jenkins will check update build
Step 5: Apply and Save
Step 6: go to your project and add Jenkinsfile with the configuration below
Configure interval that Jenkins will check update build

Source file

Step 7: Check your pipeline

Step 8: Click on “dev” any branch you want to view

It will show the stage that you define in your Jenkinsfile and log that you want it to output
Step 9: Create your playbook that it can update your code in server

This is the command to run this playbook
ansible-playbook playbooks_dir/deployment.yml -i inventories/hosts -l ${SERVER_NAME}”
that’s why in Jenkins stage will trigger this command to build this job in stage build.
** You can check in log of stag build

It is invoke the command Ansible to run playbook
Step 10: Create a commit and push to your git and let’s see the result in your server. Anything changed ??
Process of this pipeline
This job will execute while developer make change anything in branch dev. You can add more stage in test and deploy command after build.
Example:
Developer 1 is assigned task feature A by team leader and team lead will create a branch call dev-feature-A. Then after developer develop this feature already he will request merge to dev branch then team leader will check and merge to dev branch. After merge is already done it will notify to jenkins that there is something new. Jenkins will trigger build and update the source code in server automatically.
Cheer !!! Thank you. Enjoy your auto build stage
#sharingculture#startfromyou#cambodia#devops


